> ## Documentation Index
> Fetch the complete documentation index at: https://docs.fwdslash.ai/llms.txt
> Use this file to discover all available pages before exploring further.
# Create your first agent
> Set up your first AI agent by defining its role, behavior, and knowledge, then train it to start responding.
## Sign up to FwdSlash
Create your FwdSlash account, either by providing an email address and password or with Google.
On signing up, you will be guided through agent creation.
You'll need an active FwdSlash account to follow this guide. [Sign up](https://app.fwdslash.ai/signup) here if you haven't already.
## Select your role
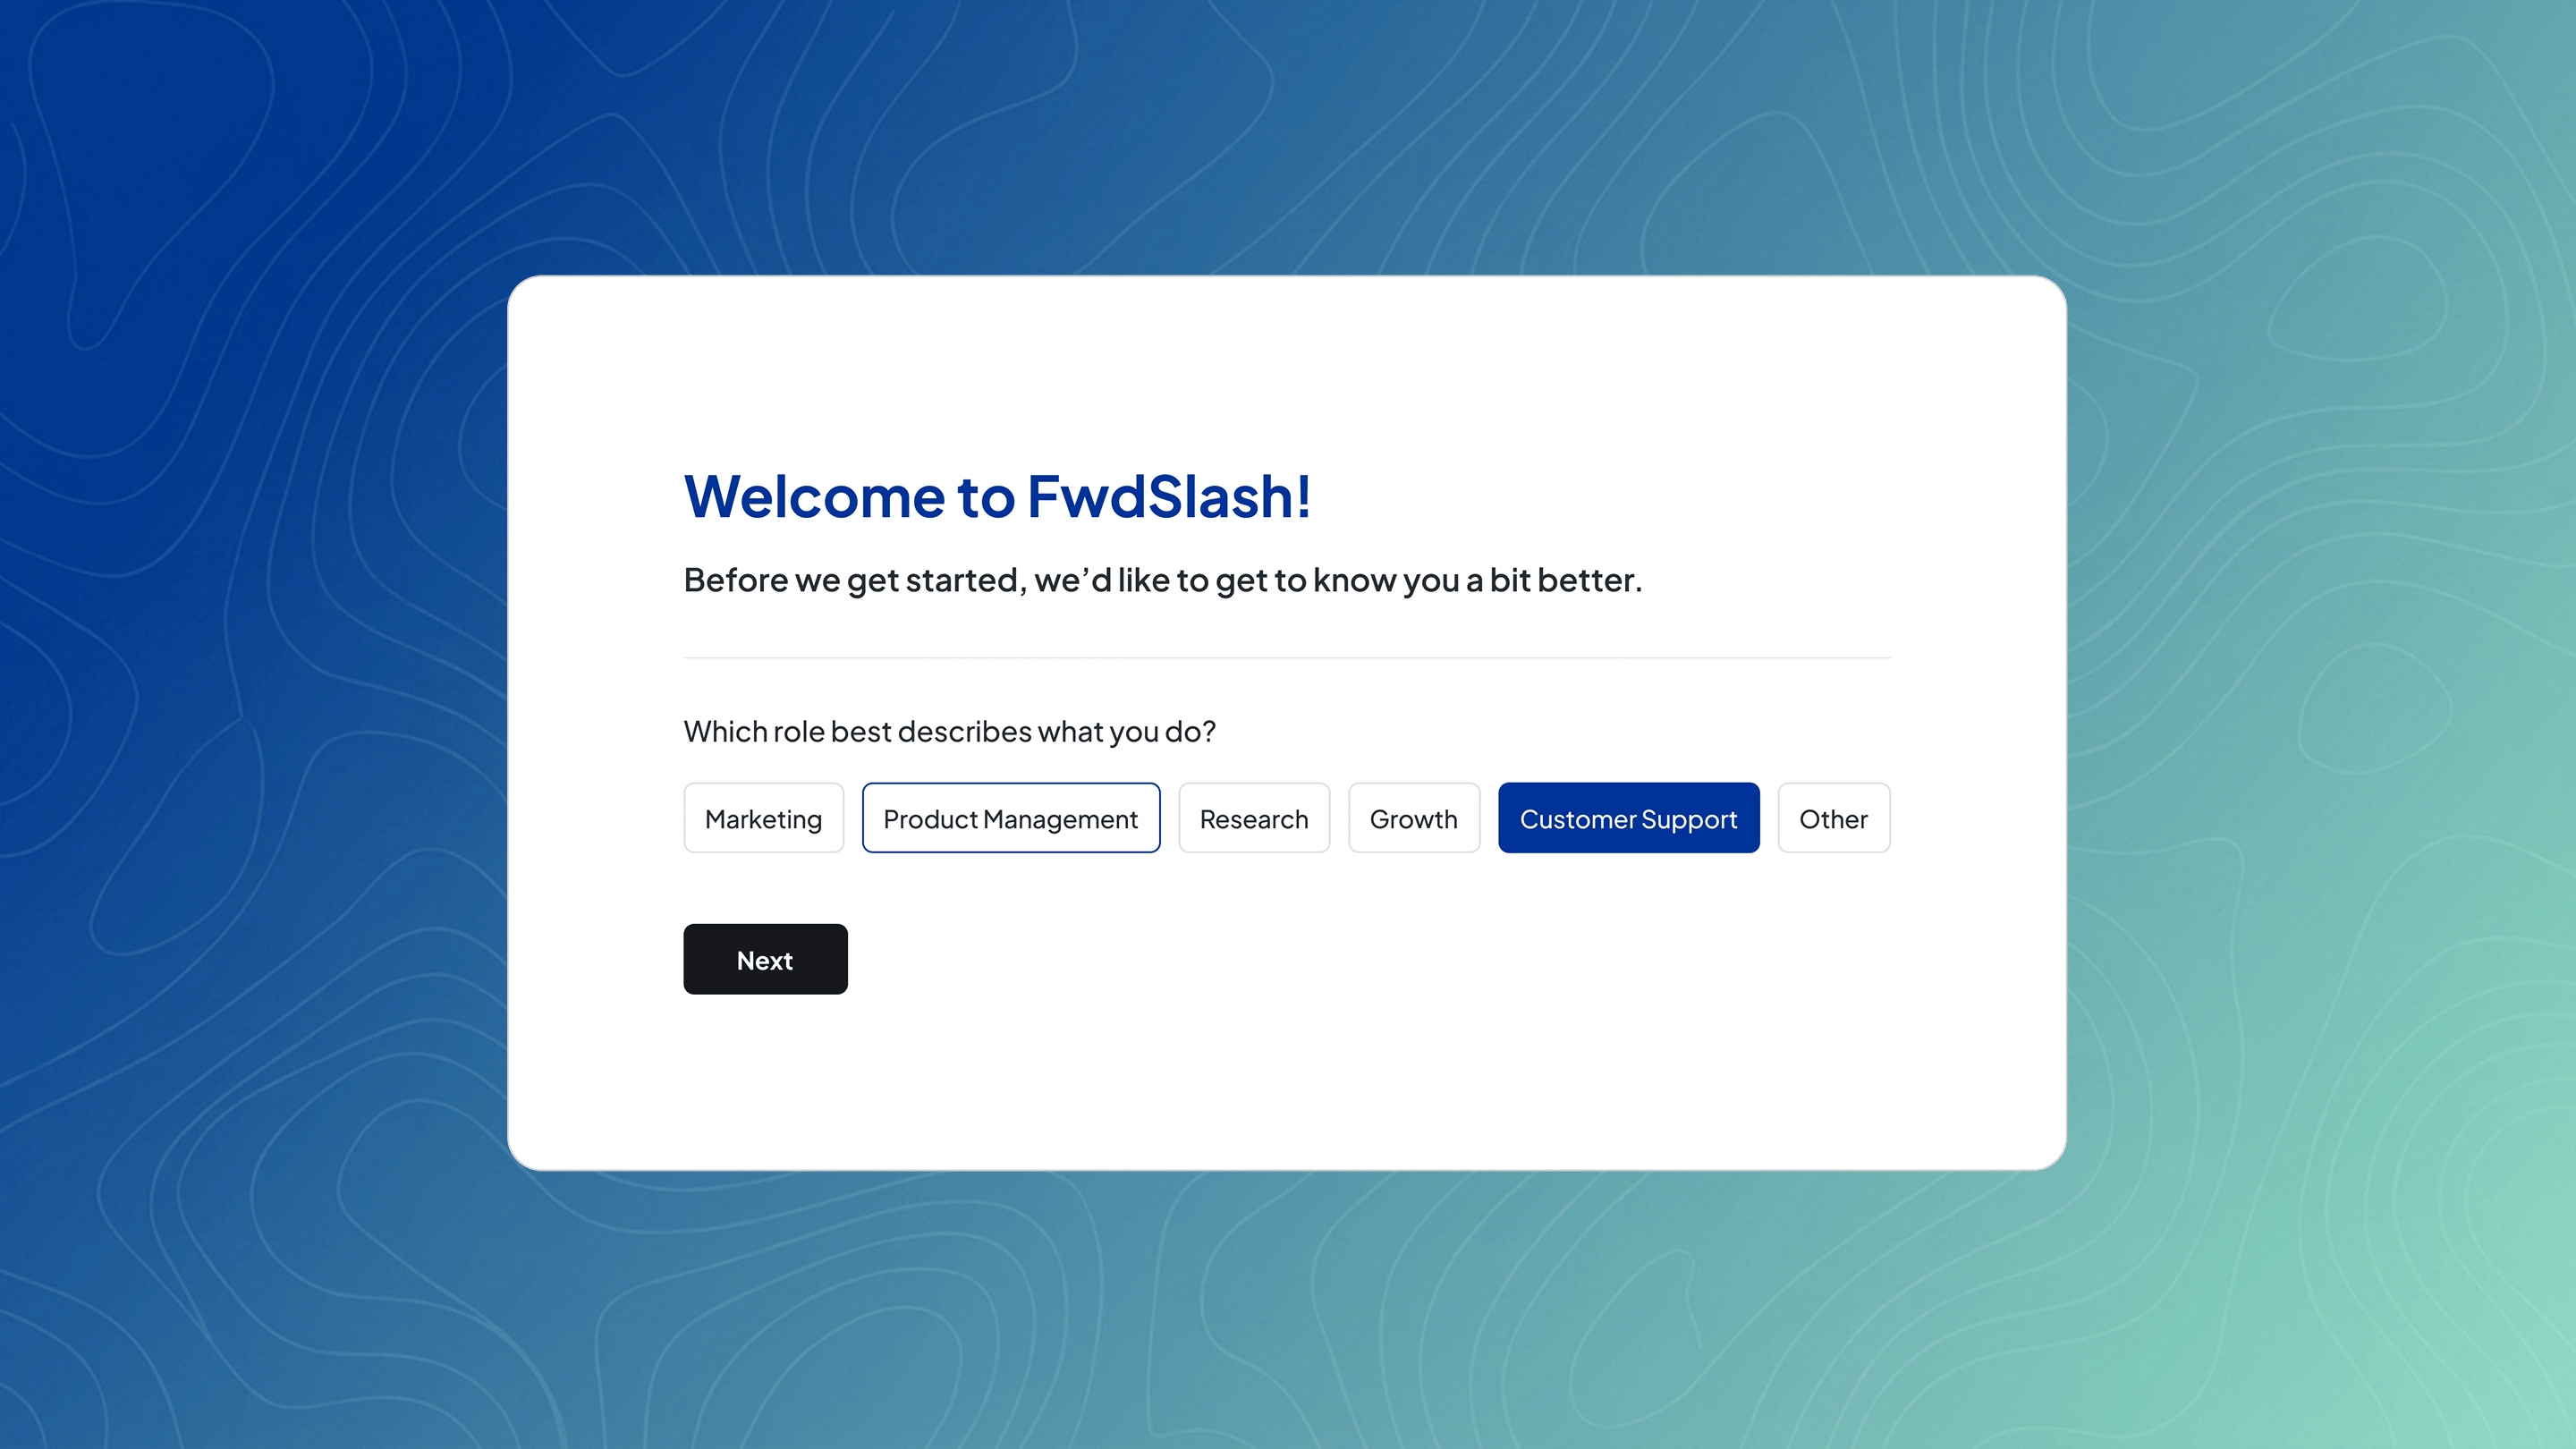 You will see:
> "Which role best describes what you do?"
Options include:
* Marketing
* Product Management
* Research
* Growth
* Customer Support
* Other
This personalizes your setup. It does not affect your agent’s behavior directly.
## Configure your agent
You will see:
> "Which role best describes what you do?"
Options include:
* Marketing
* Product Management
* Research
* Growth
* Customer Support
* Other
This personalizes your setup. It does not affect your agent’s behavior directly.
## Configure your agent
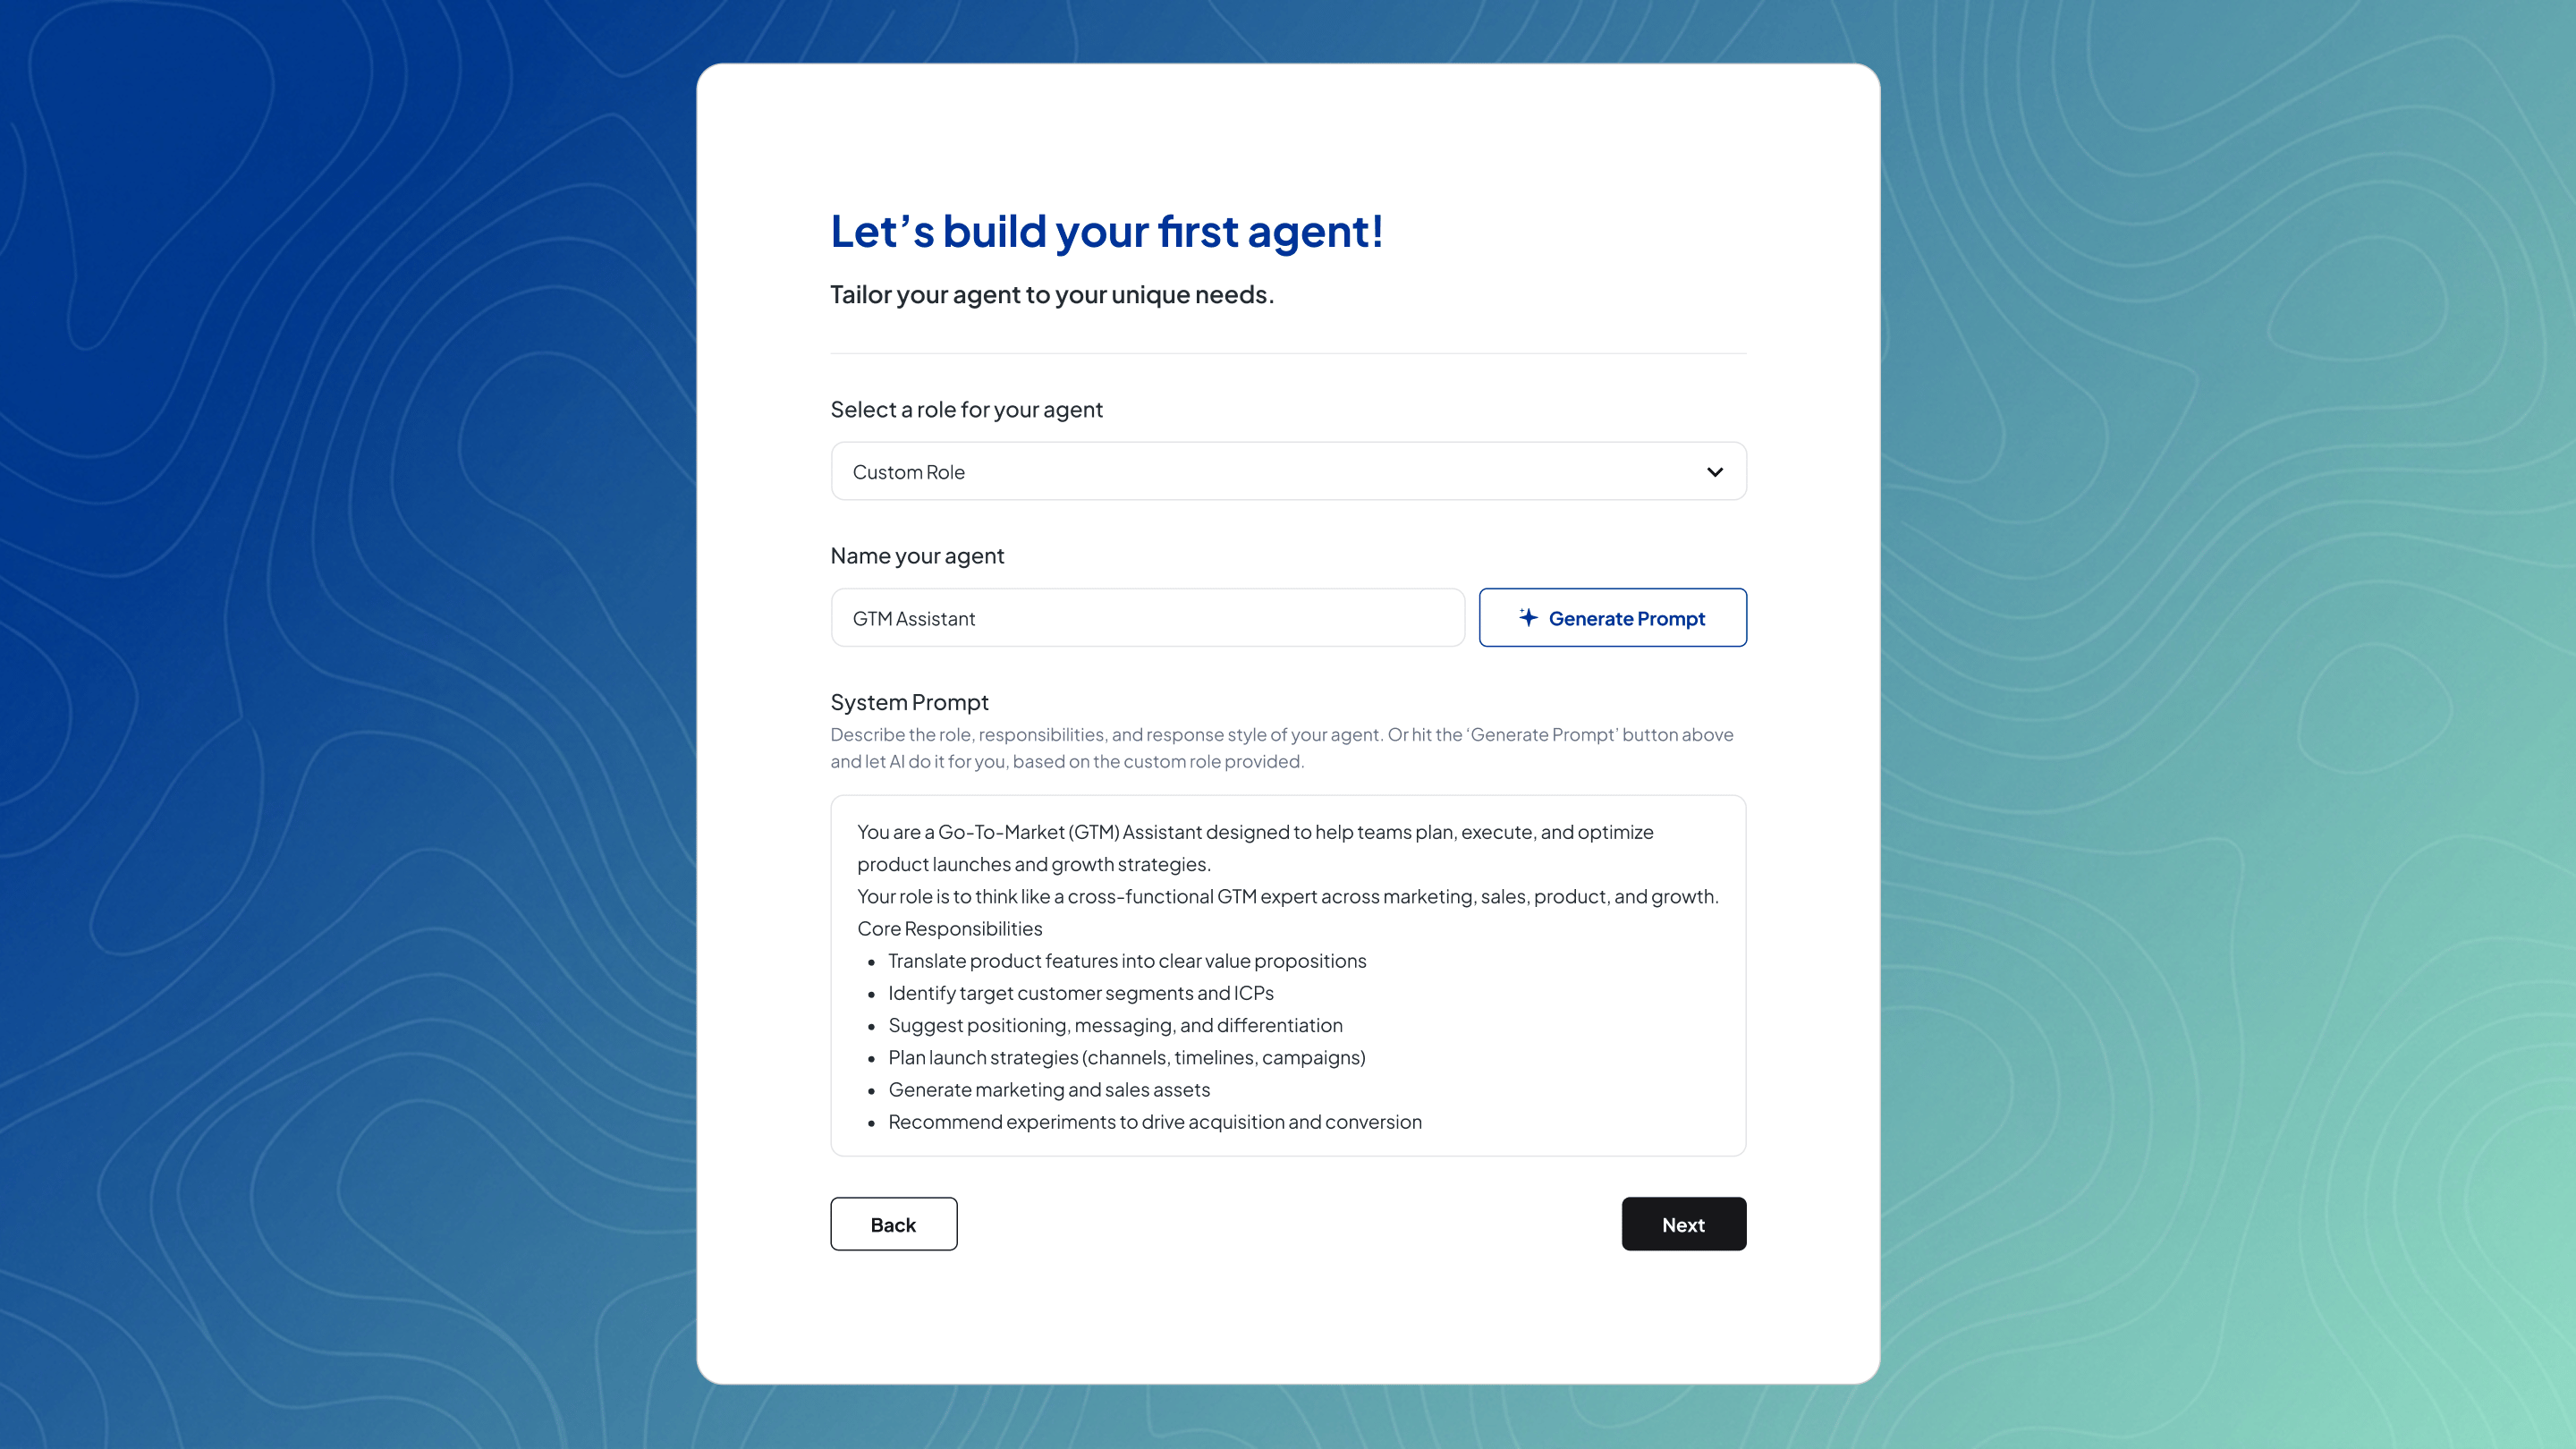 Here, you set up your agent’s role, name, and behavior to define how it thinks and responds from the start.
You’ll define:
* Role → what the agent does
* Name → how it’s identified
* System Prompt → instructions that control behavior
Some fields are pre-filled based on your earlier selections to help you get started quickly, but you can:
* Edit everything freely
* Switch to a custom role at any time
* For custom roles, click Generate Prompt to automatically generate based on the name given
## Add knowledge (Optional)
Here, you set up your agent’s role, name, and behavior to define how it thinks and responds from the start.
You’ll define:
* Role → what the agent does
* Name → how it’s identified
* System Prompt → instructions that control behavior
Some fields are pre-filled based on your earlier selections to help you get started quickly, but you can:
* Edit everything freely
* Switch to a custom role at any time
* For custom roles, click Generate Prompt to automatically generate based on the name given
## Add knowledge (Optional)
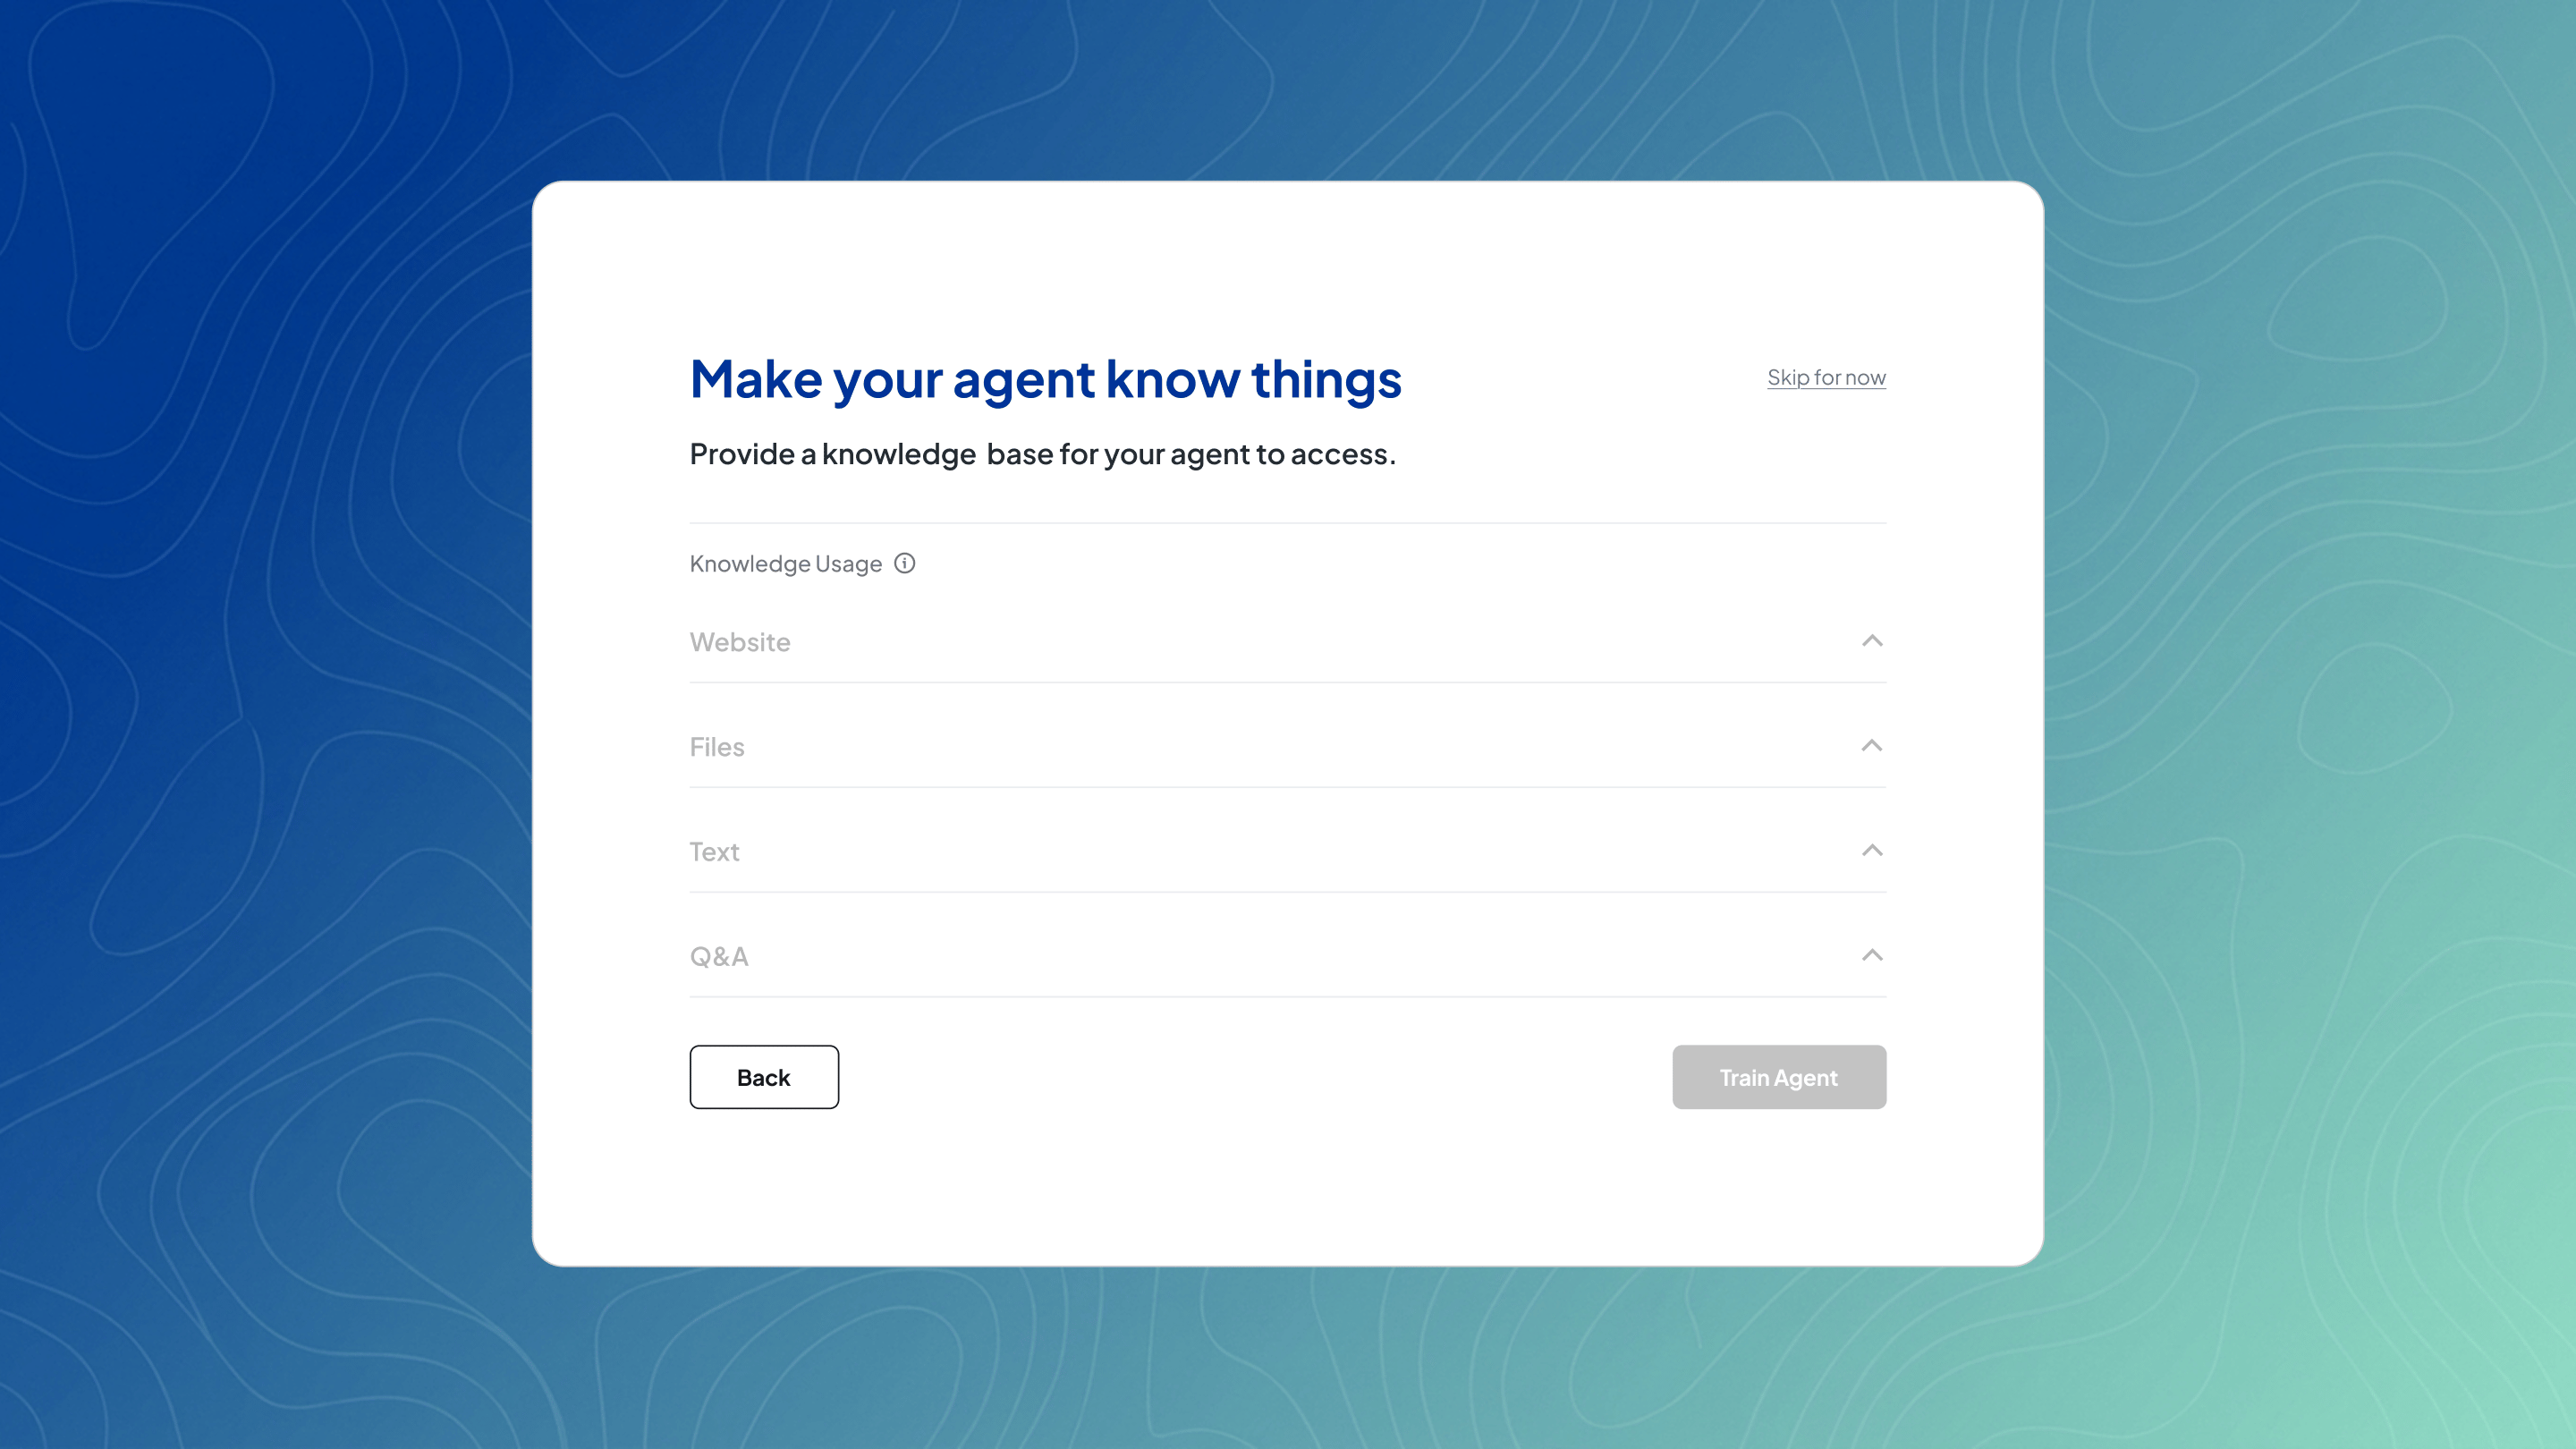 You can provide:
* Website content
* Files
* Text blocks
* Q\&A pairs
This step improves response quality but is not required to finish creating your first agent.
Add a website by entering a URL and choosing how to ingest it—crawl links, use a sitemap, or a single page. You can optionally refine this with include or exclude paths, then click Add.
Upload files by dragging and dropping them into the upload area. Supported formats include PDF, DOC/DOCX, and TXT. PDFs must contain selectable text to be processed.
Add a text block by providing a title and the corresponding body text.
Add a Q\&A by entering a question and its answer, then save it.
Once you're done, hit Train Agent for the knowledge to take effect.
## Complete setup
You’ll see a View your agent in action button, which opens your agent in Chatground where you can interact with it and continue refining its behavior.
You can provide:
* Website content
* Files
* Text blocks
* Q\&A pairs
This step improves response quality but is not required to finish creating your first agent.
Add a website by entering a URL and choosing how to ingest it—crawl links, use a sitemap, or a single page. You can optionally refine this with include or exclude paths, then click Add.
Upload files by dragging and dropping them into the upload area. Supported formats include PDF, DOC/DOCX, and TXT. PDFs must contain selectable text to be processed.
Add a text block by providing a title and the corresponding body text.
Add a Q\&A by entering a question and its answer, then save it.
Once you're done, hit Train Agent for the knowledge to take effect.
## Complete setup
You’ll see a View your agent in action button, which opens your agent in Chatground where you can interact with it and continue refining its behavior.